To place a truss
- From the Truss Builder , click Place.
-
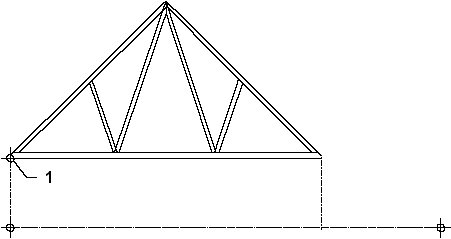
Place a data point to define the location of the left lower corner
of the first truss.
The truss is shown dynamically at a height equal to the value in the Wall Height field above the data point.
-
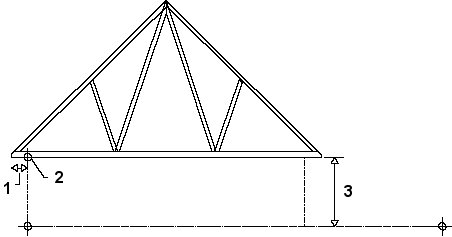
Enter a second data point to define the direction of the first
truss.
If Repeat in the Options dialog is Off, the first truss is placed. If Repeat in the Options dialog is On, the first and the last trusses are placed at a distance defined by the Length Outside Gables in the Options dialog. Additional trusses are placed at a distance defined in the Delta field. Additional roof element(s) selected in the Category list in the Options dialog are added to the truss

(1) Roof length; (2) Repeat truss – delta distance; (3) Last truss; (4) First truss; (5) Span; (6) Length inside gables; (7) Length outside gables.